Deleting your Facebook account can be a significant step towards reclaiming your online privacy and reducing digital clutter.
Though privacy concerns are valid, it’s possible to avoid giving your data to third-party apps, and to lock down your profile. But if you don’t trust Facebook itself with your personal data, you may question your decision to continue handing it over.
Even so, the fear of losing years of photos, messages and posts can be daunting. Fortunately, Facebook offers ways to download your data before you delete your account. Here’s a step-by-step guide to ensure you don’t lose your precious memories when you decide to say goodbye to Facebook.
How to download Facebook data
If you want to keep the information and data on your Facebook account before you delete it, you can download everything as an archive on to your computer. Facebook can download the posts, photos and videos you’ve shared, your messages and chat conversations, information from the ‘About’ section of your profile, and more.
Here are the steps to follow:
- Go to Facebook and log in with your username and password.
- Click on your profile picture in top-right corner of the page.
- Select ‘Settings & Privacy ‘and then ‘Settings’.
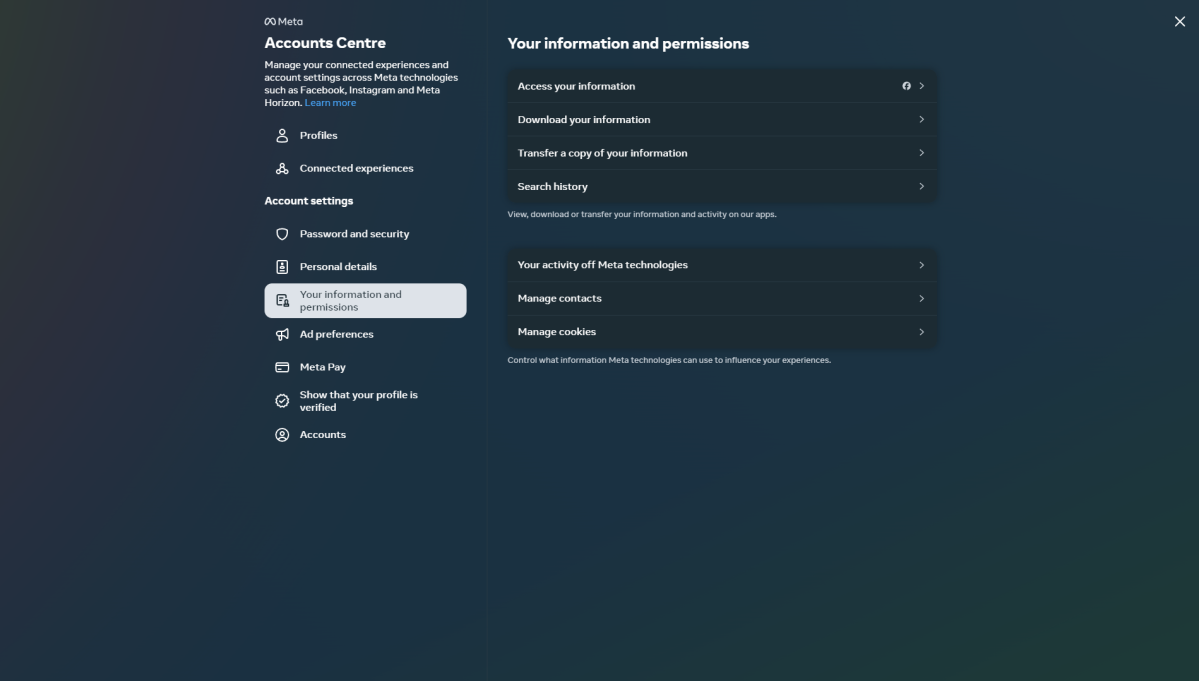
- In the left-hand menu, click on ‘Your information’.
- Click on ‘Download your information’.
- You’ll see a list of all the types of data you can download. This includes posts, photos, videos, comments, likes and more.
- You can select the specific data you want or choose to download everything. Make sure to select the appropriate date range, format (HTML or JSON) and media quality.
- Once you’ve made your selections, click ‘Create files’.
- Facebook will begin creating a file with your data. This process can take some time, depending on the amount of information you have.
- Facebook will notify you when your file is ready to download. You can access it from the ‘Available Files’ tab on the ‘Download Your Information’ page.
- Click ‘Download’ and save the file to your computer or external storage device.

Artur Tomala / Foundry
After downloading your data, review the files to ensure all important information is included. This is crucial because once your account is deleted, you won’t have access to Facebook’s data recovery options.
How to permanently delete Facebook
If you are ready to permanently delete your account, follow these steps:
- Go to ‘Settings & Privacy’ > ‘Settings’ > ‘Your information’.
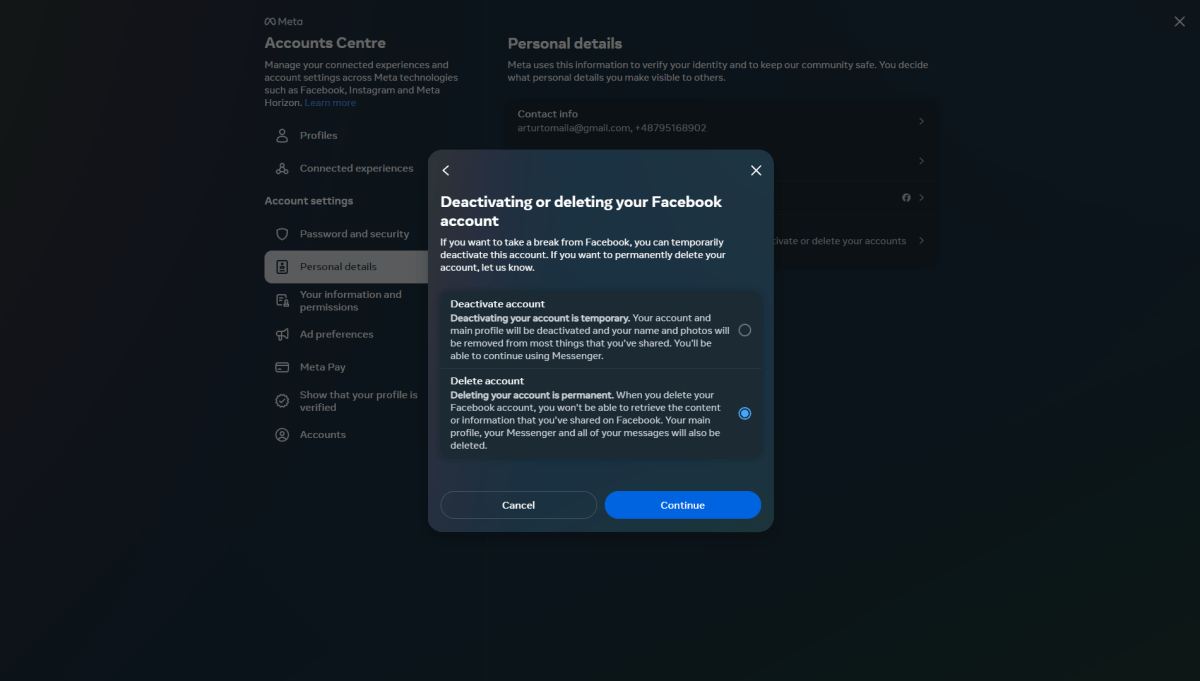
- Click ‘Deactivation and Deletion’.
- Select ‘Delete Account’ and click ‘Continue to Account Deletion’.
- Enter your password and follow the on-screen instructions.

Artur Tomala / Foundry
Be aware that permanent deletion of your Facebook account cannot be undone. Temporarily disabling your Facebook account might be a better alternative if you aren’t entirely sure that you’ll never want to come back to Facebook.
How to temporarily disable Facebook
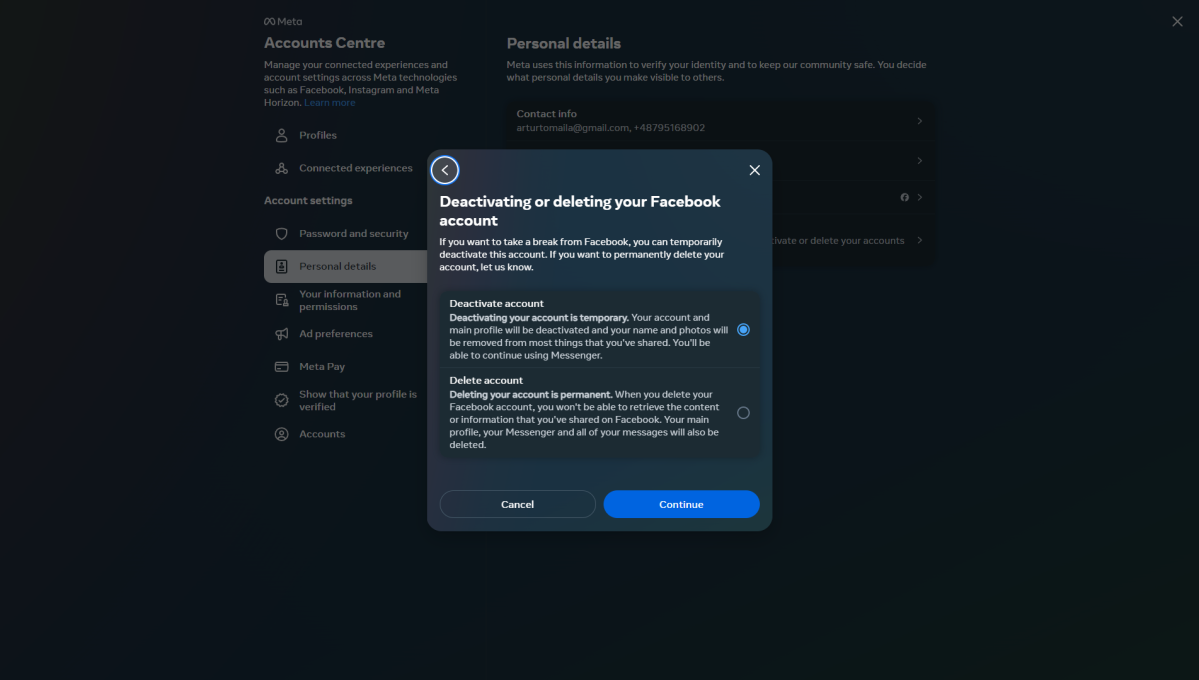
By temporarily disabling your Facebook account, you won’t lose any of your stuff, such as contacts and photos. To deactivate your account:
- Go to ‘Settings & Privacy’ > ‘Settings’ > ‘Your information’.
- Click ‘Deactivation and Deletion’.
- Select ‘Deactivate Account’ and follow the on-screen instructions.

Artur Tomala / Foundry
If you nevertheless decide to delete your Facebook account, it will be scheduled for permanent deletion after 30 days. During this period, you can log in to cancel the deletion if you change your mind.
After 30 days, the account and all its data will be permanently deleted from Facebook’s servers.


/origin-imgresizer.eurosport.com/2024/08/25/4031136-81760368-2560-1440.jpg?w=150&resize=150,150&ssl=1)


