Having an advanced recording device in your pocket can be very handy indeed. If you’re someone who likes to quickly capture ideas as they come to you, but don’t want the hassle of typing them out, then the built-in recorder app is a lifesaver.
The same is true of poets, songwriters or those practicing a speech or presentation. Being able to get a recording done in seconds can mean that the idea doesn’t disappear into the ether from which it came. But how does the process actually work?
Here’s our quick guide to recording audio on Android.
How to record audio with the Android Recorder app
All Android devices usually come with a dedicated recording app. The one you should be able to find on your phone is simply called Recorder. If you have a Samsung device, then there might also be Samsung Voice Recorder, which does pretty much the same thing.
For the purposes of this tutorial, we’ll go with Google’s Recorder app, but the instructions should roughly work for all dedicated recording apps.
Open the Recorder app
Martyn Casserly / Dominick Tomaszewski
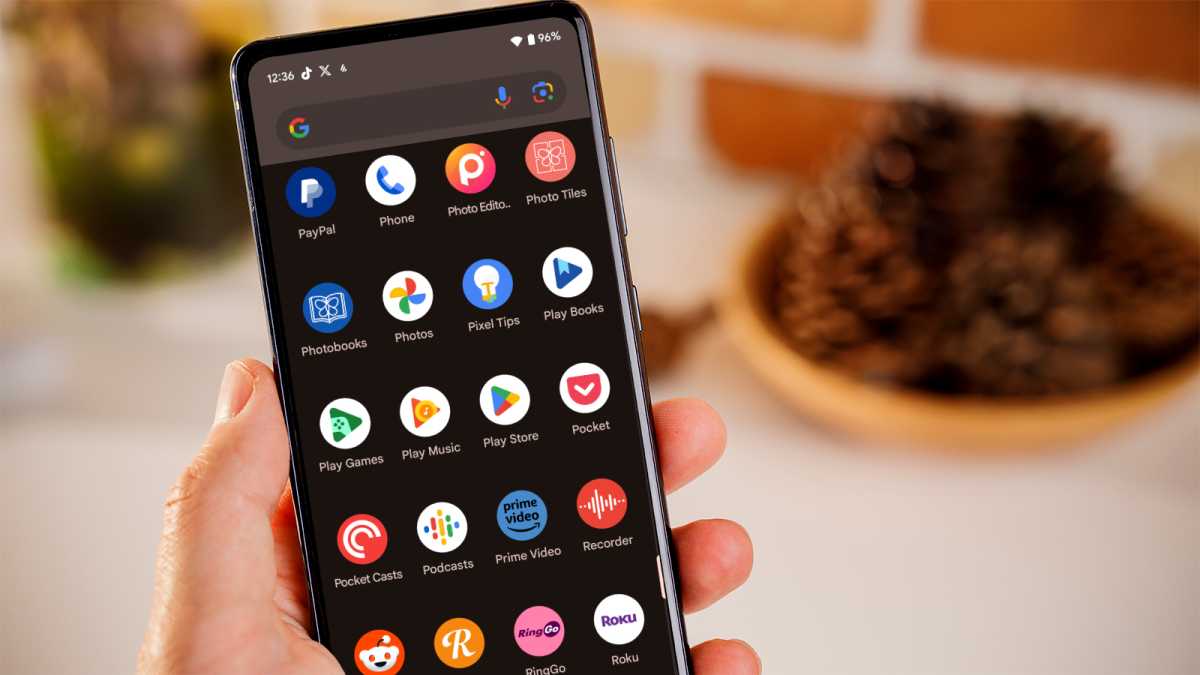
Open up the list of apps on your phone and then scroll down until you find the Recorder app. It has a red circular icon with a sound wave inside. Tap on it to open the app.
Hit the record button
Martyn Casserly / Dominick Tomaszewski
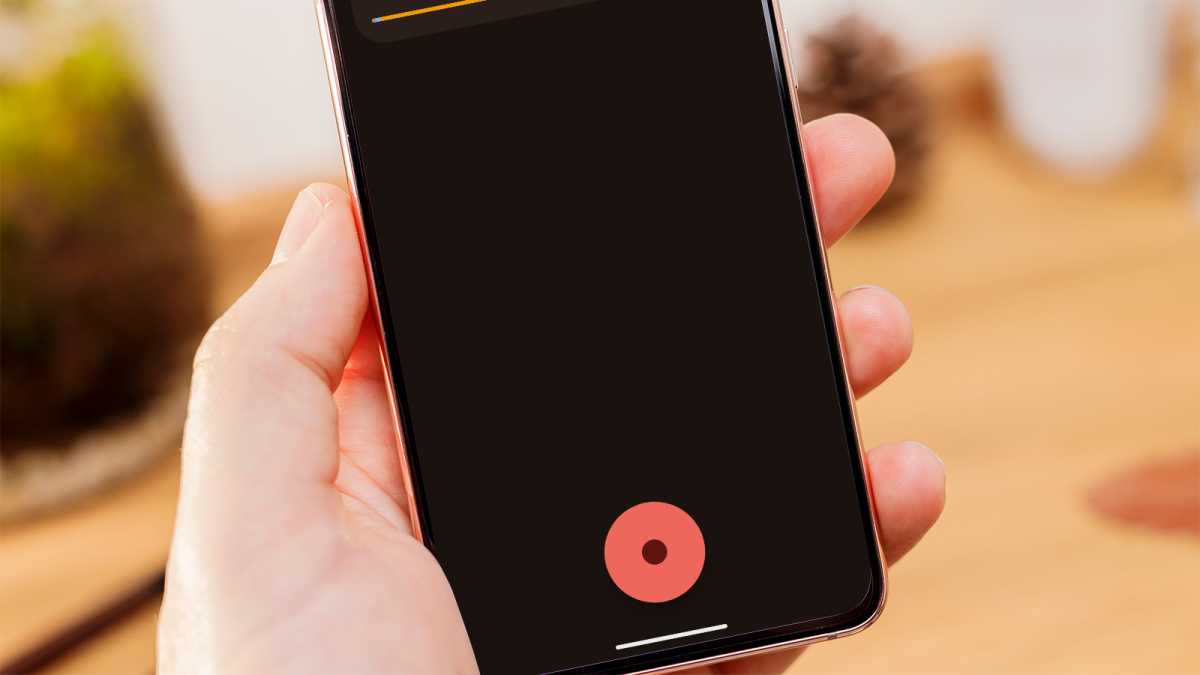
The interface for the Recorder app is very simple. At the top of the screen you’ll see any previous recordings you’ve made (which should be empty if this is the first time you’re using the app), then at the bottom is a large red button to start recording.
When you’re ready, hit the red button to start the virtual tapes rolling.
Record your audio
Martyn Casserly / Dominick Tomaszewski
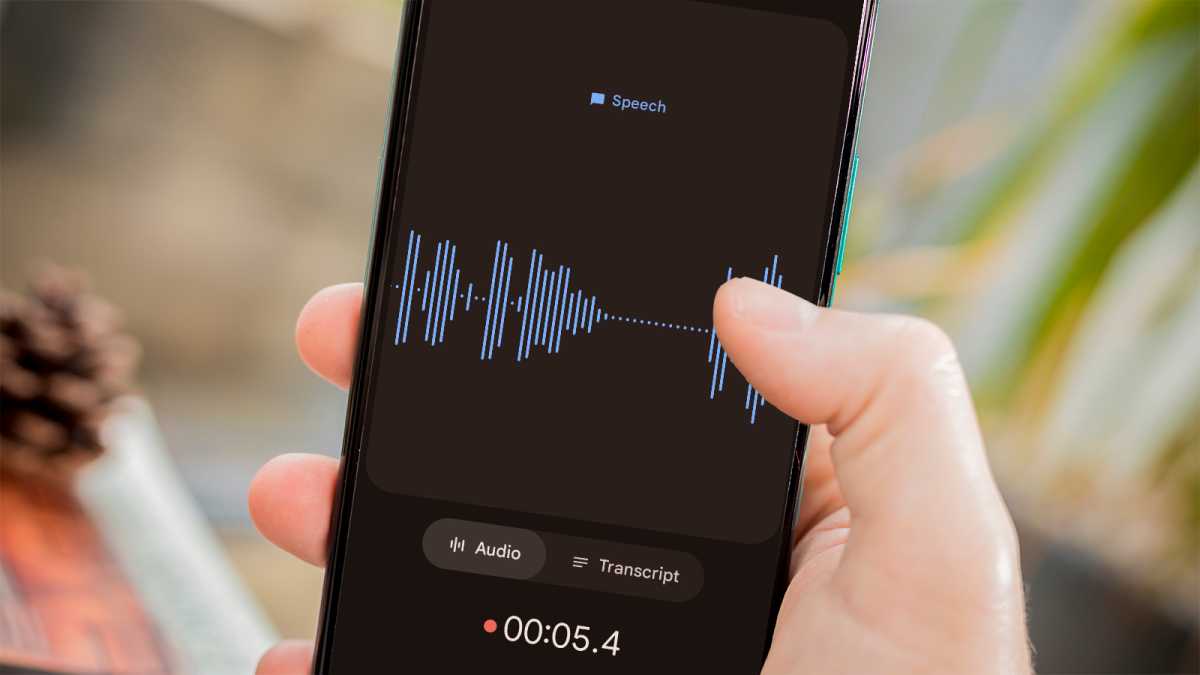
With the record button pressed, you should now see an audio wave on the screen that responds to the things you say or play, as well as a time indicator to show how long you’ve been recording.
When you’re ready to stop or want to take a pause, tap the record button again.
Stop and save recording
Martyn Casserly / Dominick Tomaszewski
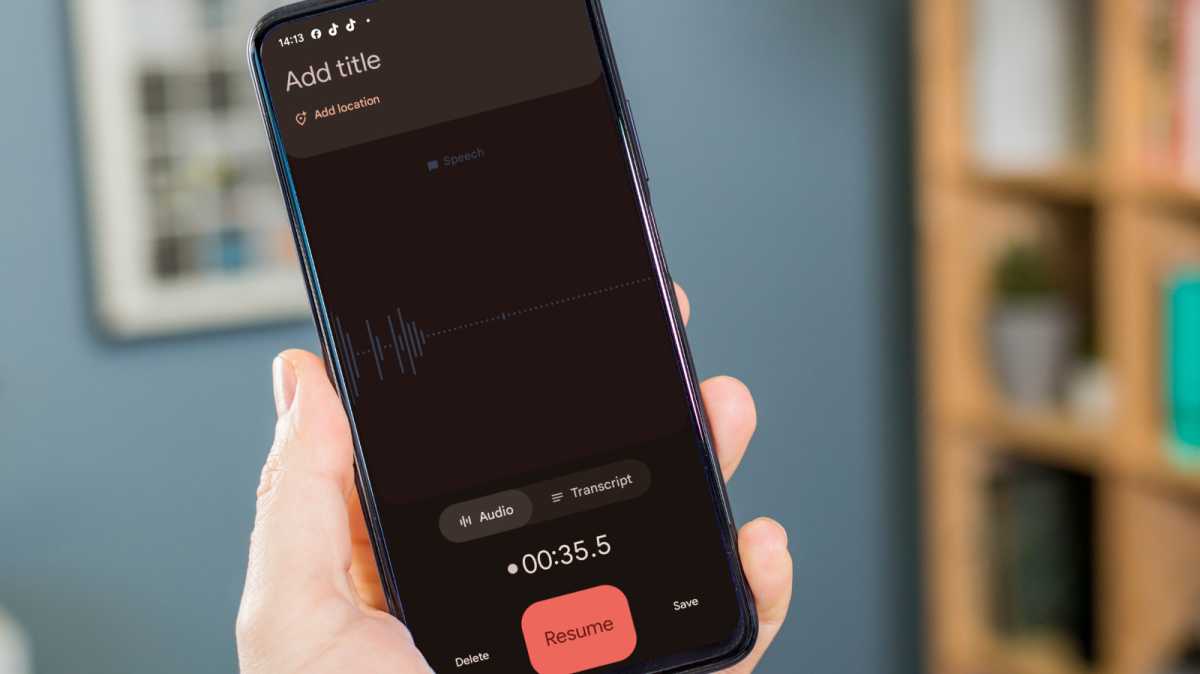
Once recording is paused, the record button will now present you with three options. To the left there’s Delete, which will get rid of the current recording. If you want to carry on then the Resume option on the record button itself will allow that.
If you’re done, tap the Save option and the recording will be complete.
Name your recording
Martyn Casserly / Dominick Tomaszewski
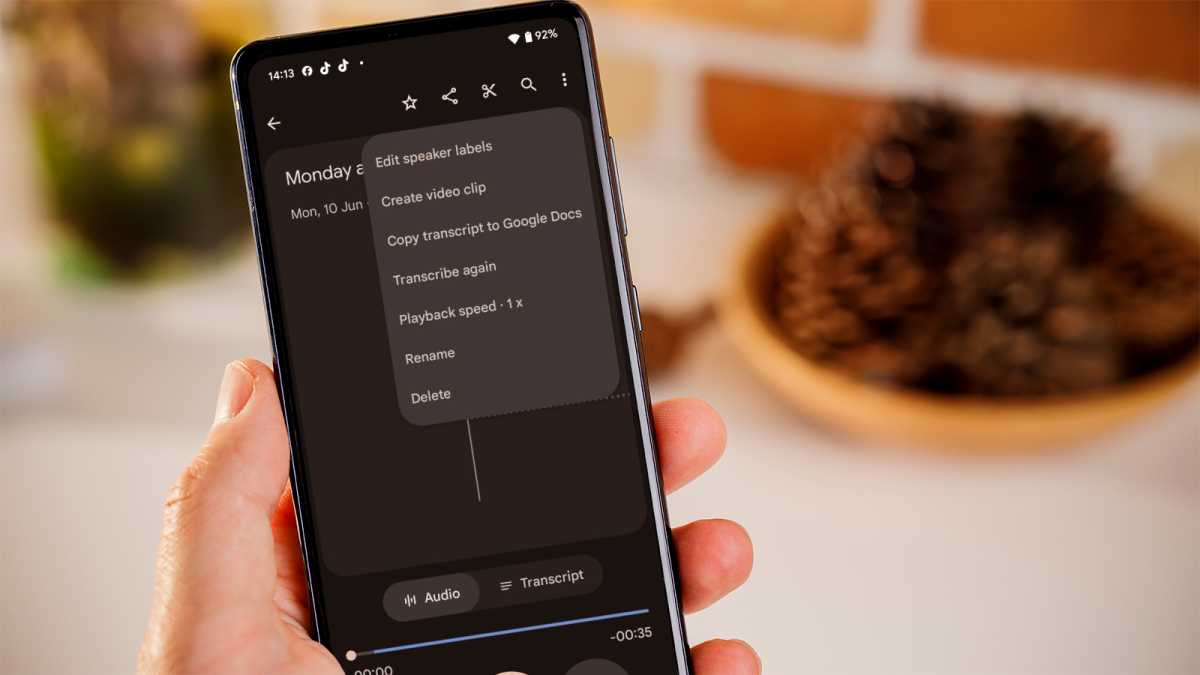
If you’ve finished recording and tapped the Save button, you’ll now see a list of the recordings currently in the app. The one you’ve just captured will most likely have today’s date but no name. To change this, tap on it, then select the three dots in the top right corner and from the drop down menu and tap the Rename option.
Give the track a title and tap the Save button. Now it should appear with the appropriate name.
Edit the recording
Martyn Casserly / Dominick Tomaszewski
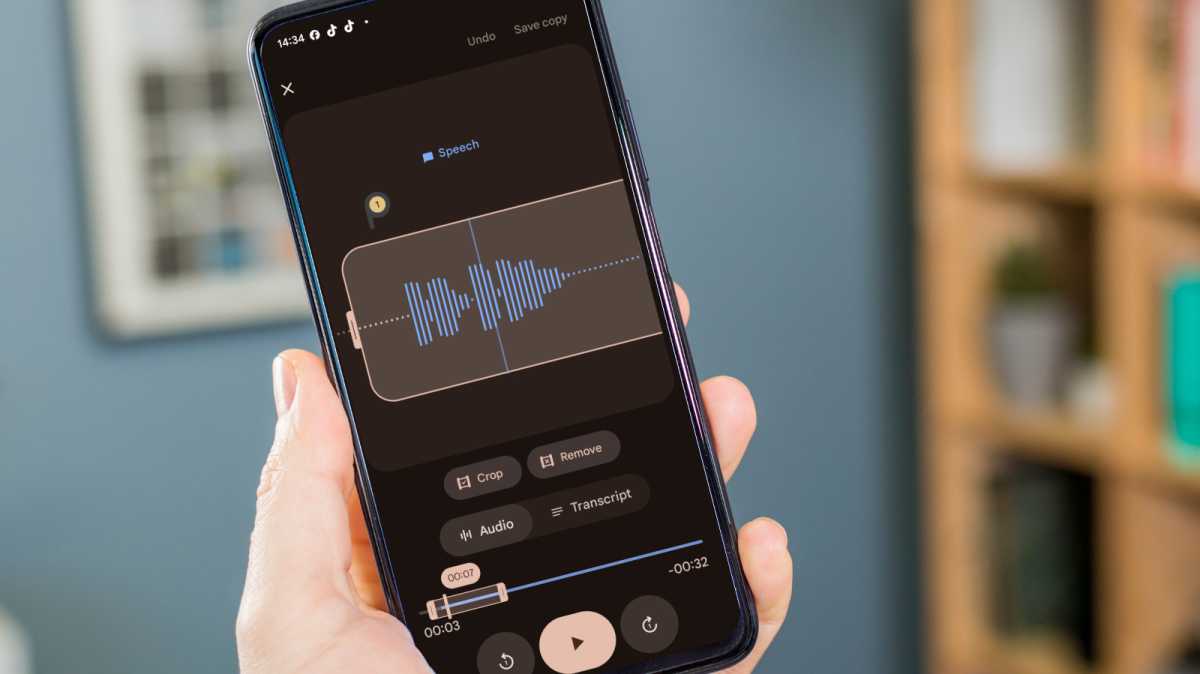
If you want to change the length of the recording, then tap the scissors icon at the top of the screen and you’ll enter the Edit mode. In here, you can drag the edges of the track to different locations. This allows you to trim the beginning and end or just select a certain part of the track you want to keep by highlighting those areas and then tapping the Crop option.
You can use the lower line to move quickly through the entire track, then the larger one in the centre of the screen for more precise adjustments. There’s also the option to highlight certain areas and then use the Remove option to get rid of them.
Get a transcription of the recording
Martyn Casserly / Dominick Tomaszewski
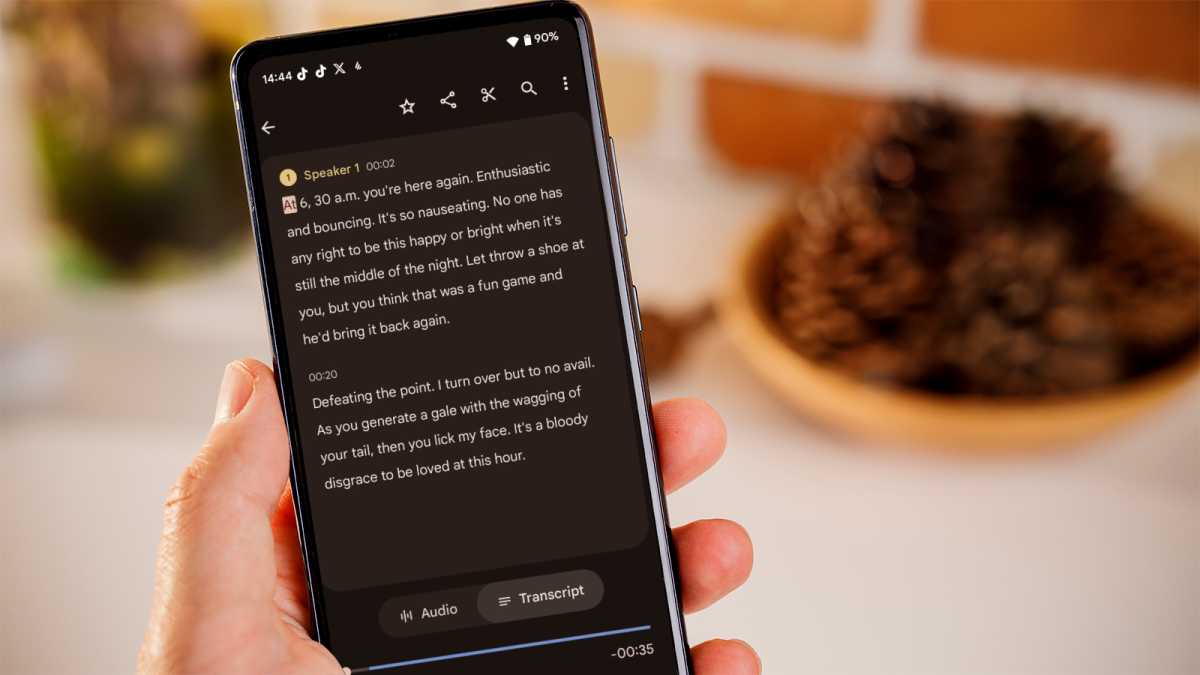
If the recording is mainly spoken word, then you can avail yourself of the useful Transcription option, which will give you the audio in text form.
This can be handy if you want to record a meeting or interview, then make minutes or write up the conversation. To access the transcription, simply tap the Transcript option under the main sound wave. You’ll now be presented with the text that the Recorder app has transcribed. It’s worth checking through it of course, as it isn’t always 100% correct, but it’s often pretty close.
That’s it. You’re up and running with the Recorder app on Android.
How to record audio on other Android apps
Many Android apps give you the option to record audio, whether that’s for messaging or vocal notes. Here are some of the most popular.
How to record audio on Google Keep
Google’s Keep app is a great note-taking app for those times when you want to get things down in a hurry. You can, of course, use typing or handwriting, but there are also vocal notes as an option.
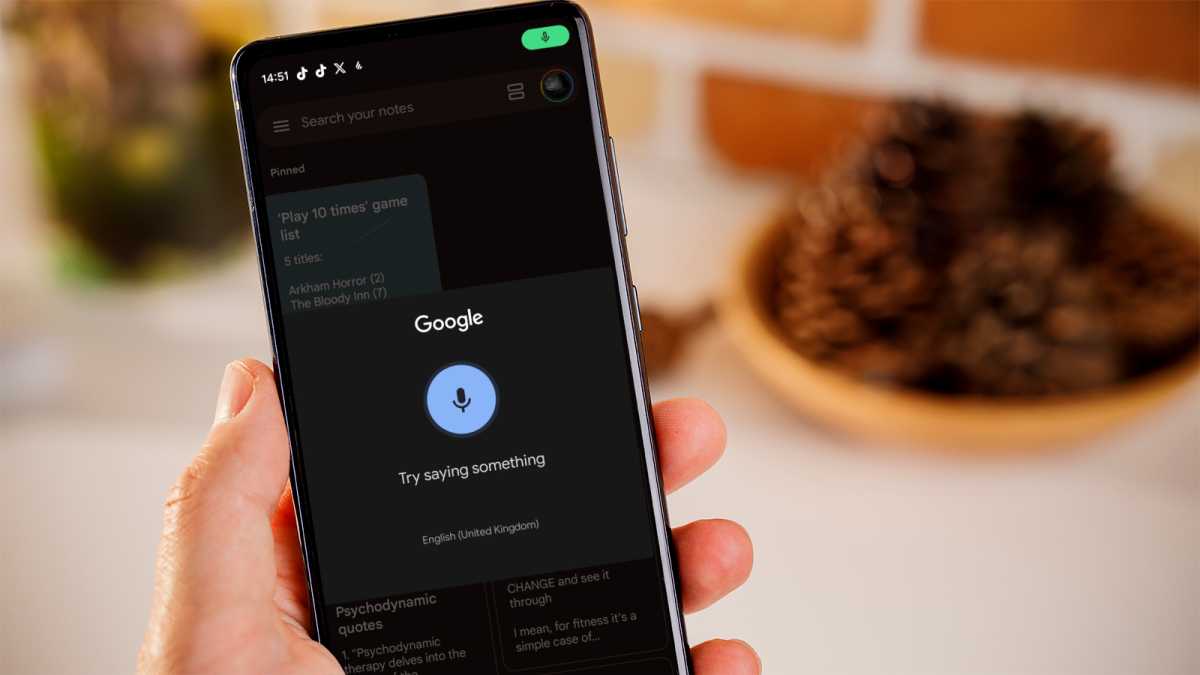
There are actually two main methods of recording within Keep. The first is when you open a normal note by tapping the ‘+’ button and then tap the microphone icon in the bottom right corner to dictate a message that Keep will automatically transcribe into text.
If you only want to record audio, then from the main notes page in the app (the one that appears when you open it), tap the microphone icon in the bottom left and you can start recording. The audio message will then be stored alongside your other notes in Keep.
Martyn Casserly / Dominick Tomaszewski
How to record audio on WhatsApp
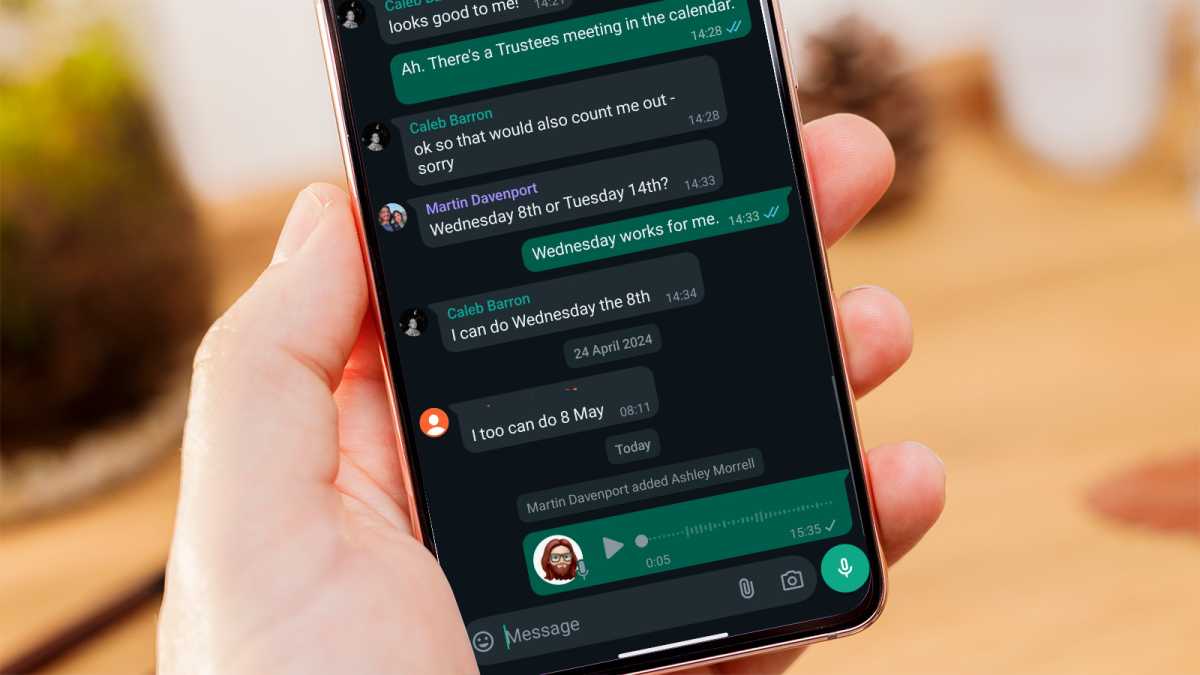
WhatsApp is another app that lets you use your voice to create notes, which can be good if you’re in a place where it’s difficult to type or you’d just rather reply with a voice message instead of a text-based one. You can also send messages to yourself if you’d like.
To do this, open the chat thread you want to send the message in (or start a new one), then tap and hold the microphone icon in the bottom right corner while you record your message.
When you’re done, release the button and you should see the audio get instantly posted into the chat feed. It’s automatically sent, but you can press and hold on the message if you want to delete it again. Instead you pressing and holding, you can also press the microphone icon and slide up to record without having to keep your finger pressed on the screen.
Martyn Casserly / Dominick Tomaszewski
There you have it. A few different ways to record audio on Android.
There are many other apps that offer similar features, so don’t be afraid to look around to find one that best suits your needs. In the meantime, Recorder and the other apps mentioned are a good start.


