


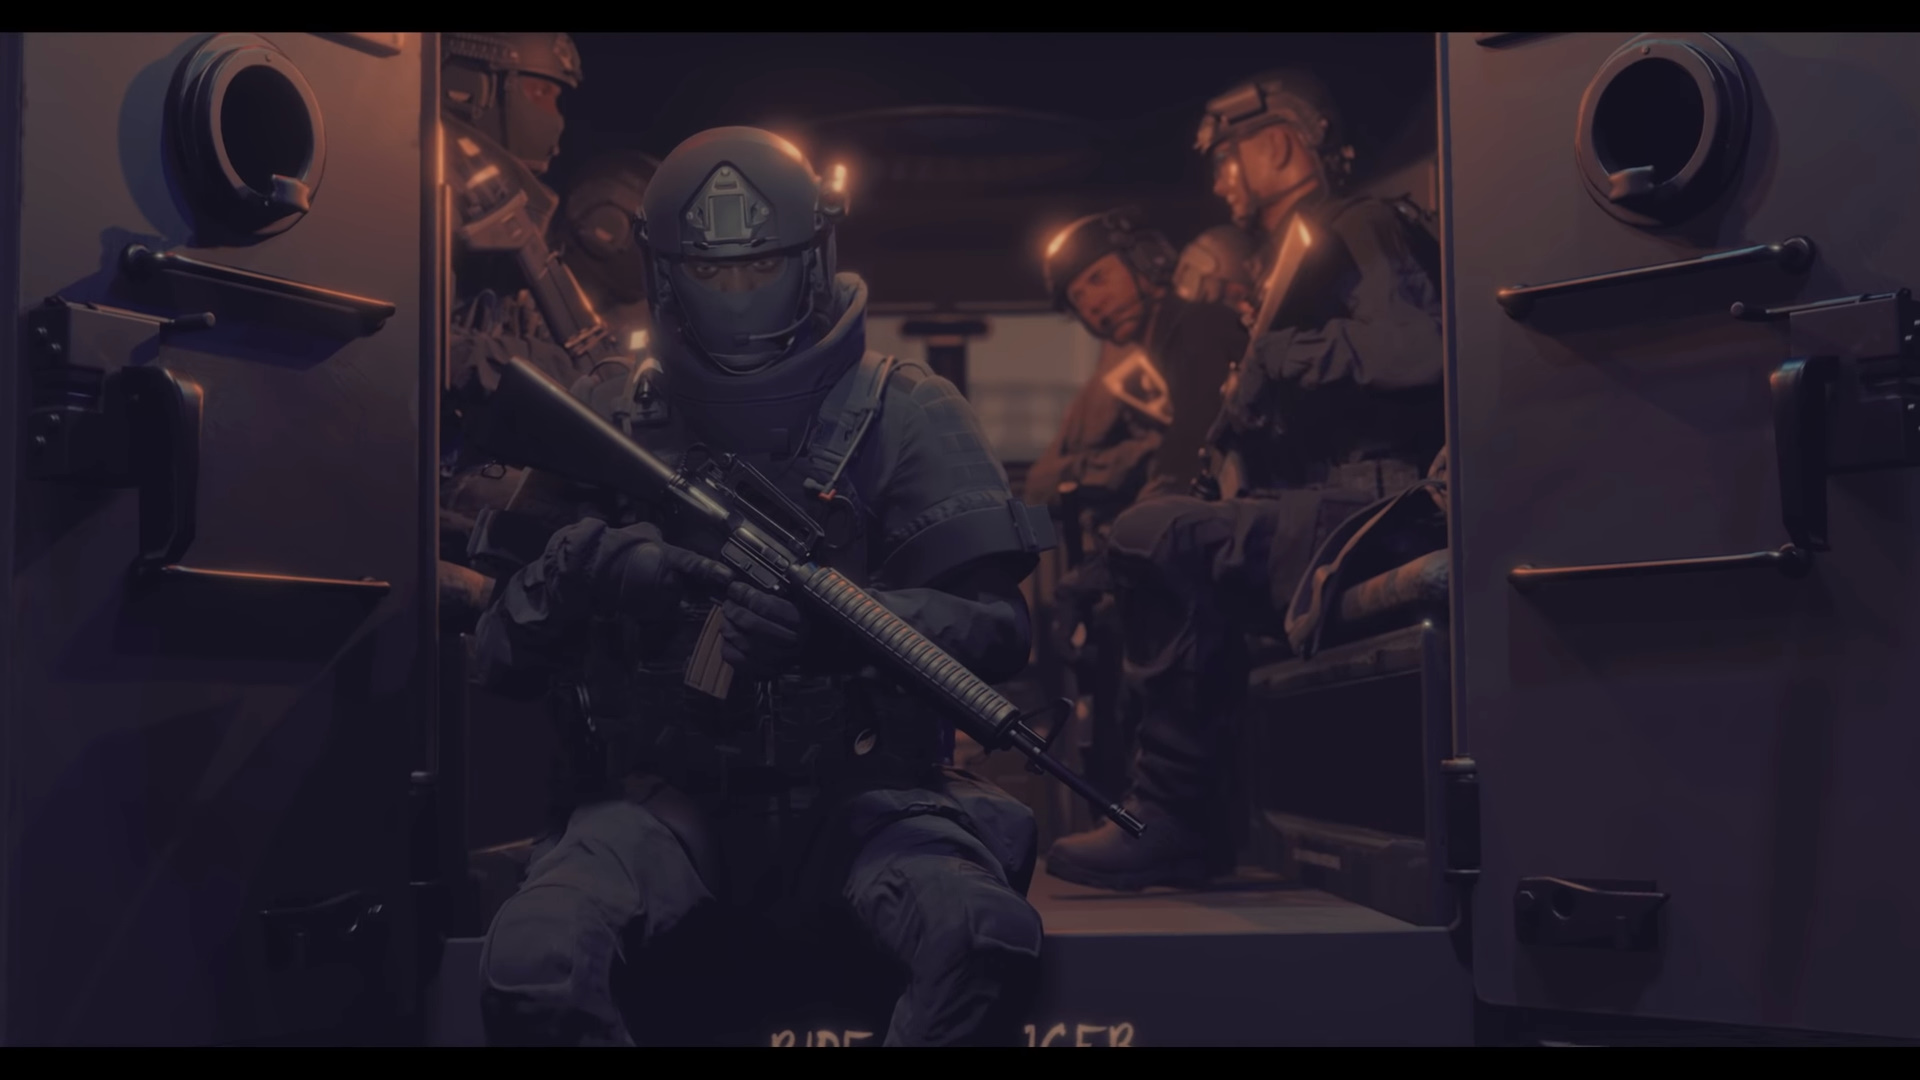
After exiting early access in December 2023 for PC, Void Interactive’s Ready or Not is finally available for Xbox Series X/S and PS5 (depending on your region, of course). As a tactical first-person shooter, players take control of Commander David “Judge” Beaumont and lead D Platoon in the LA-inspired Los Suenos, responding to various crimes and gradually becoming overtaken by the city’s darker elements.
For those who have always wanted something in the vein of SWAT, Ready or Not is well worth checking out, whether you’re playing alone or in co-op. But basic training is only the first step. Here are 15 tips and tricks you should know for surviving through thick and thin.
Play Slow (and Know When to Play Fast)

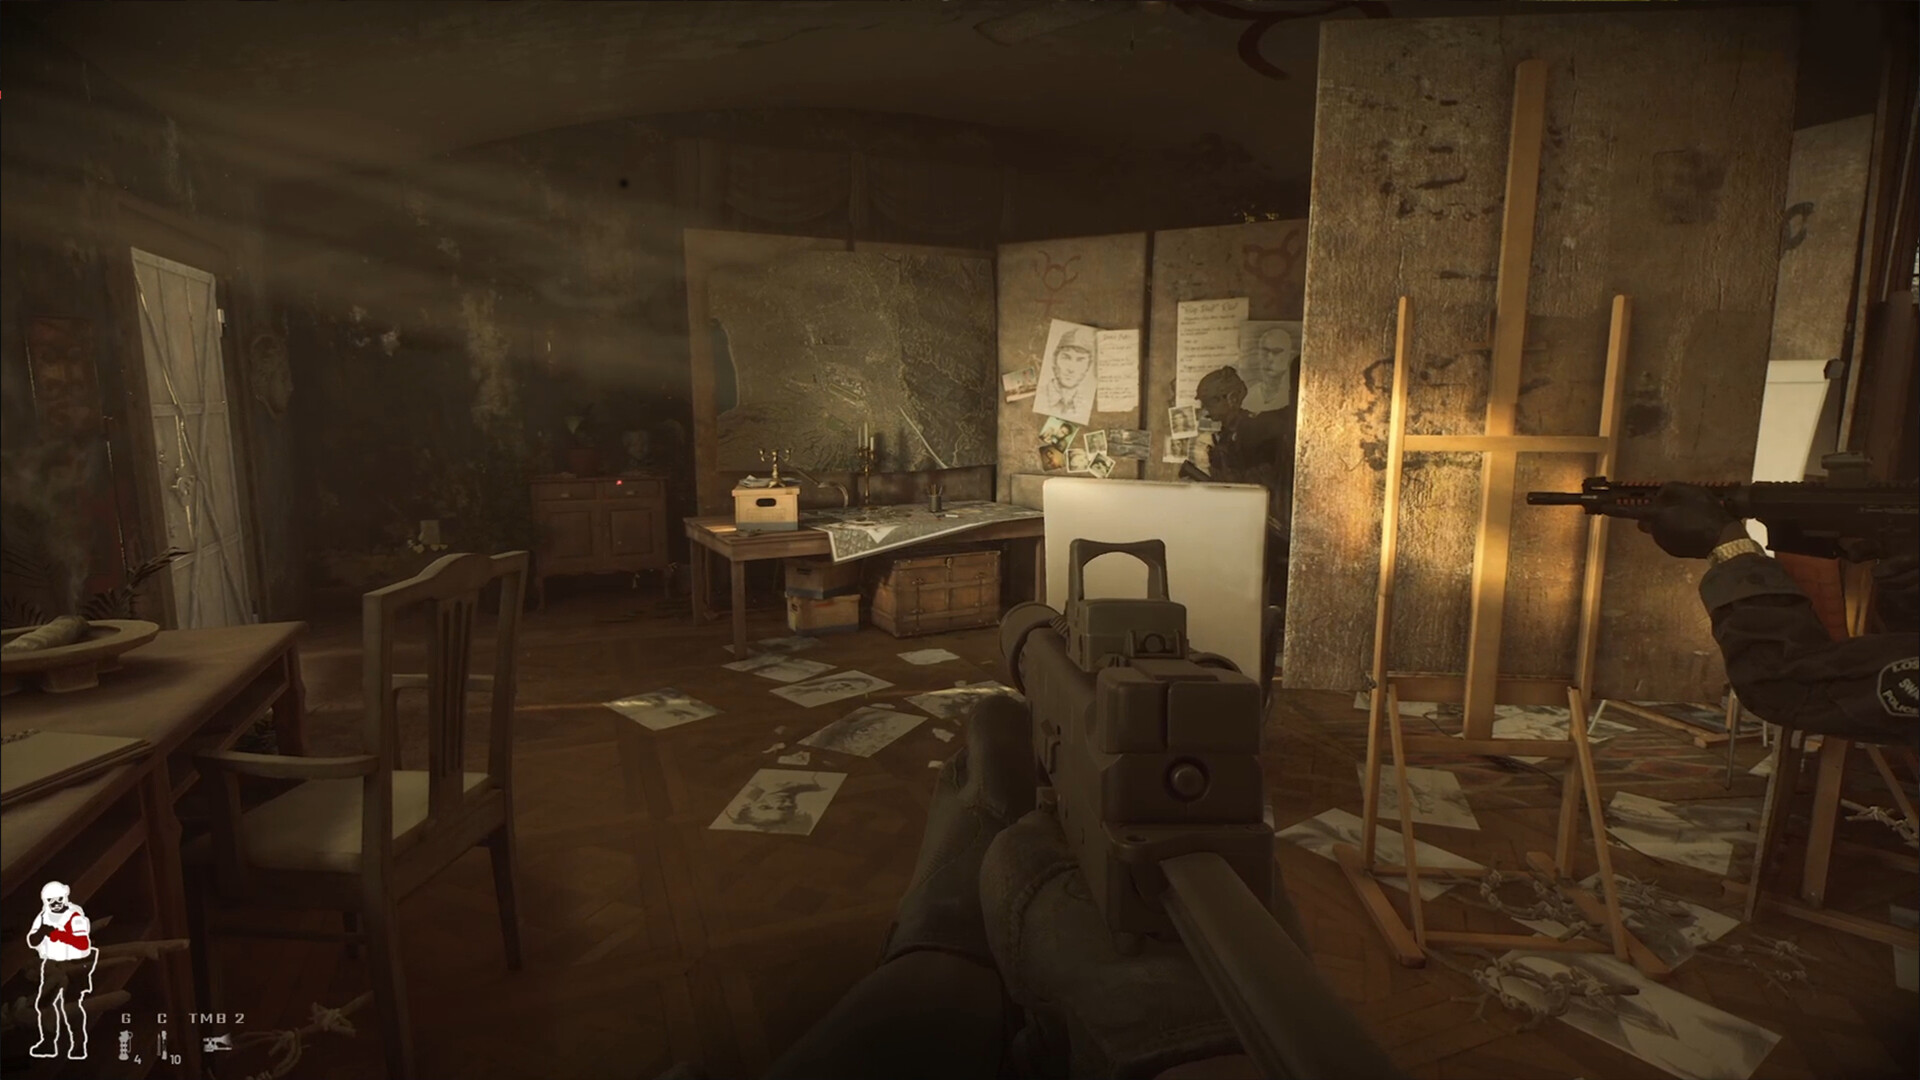
If it wasn’t immediately clear during training, you won’t be sprinting full bore through levels in Ready or Not. However, it is possible to rush through, not paying attention to corners or potential doorways with dangerous suspects. When you’re moving through the environment, play slowly, systematically clearing areas outside of rooms and ensuring that you lean corners while aiming down sights. If you know there are armed suspects in a room (and more importantly, they know you’re out there), then you can be aggressive.
Leaning and Free Leaning
As noted, leaning is extremely good, whether you know someone awaits around the next corner or you just want to aim through a door crack. Your body is less exposed, which means you’re less likely to eat tons of bullets. Learn to lean and move at the same time, but more importantly, don’t forget free leaning. It provides much more control and also allows for checking underneath beds, where suspects could be hiding (and they will be hiding when you least expect it).
Peak (Instead of Opening) Doors
Doors are perhaps the most dangerous thing in Ready or Not, but there are a few ways to minimize that. One such method is peeking. First, open the door by a slight crack and then move towards it to open it. This creates less noise compared to simply swinging it open and lets you get the drop on suspects in some situations.
Hard Breaching to Lower Morale
Alternatively, there’s hard breaching, which will also become necessary when dealing with reinforced doors. While it’s infinitely noisier than simply peeking, battering rams and C2 can also lower a suspect’s morale, making them more likely to surrender rather than put up a fight. The breaching shotgun is also an excellent option, especially since it’s unlikely to result in the death of any suspects or civilians.
Prioritize Suspects
Given the whole “bring order to the chaos objective,” you may be compelled to restrain anyone in front of you. However, always prioritize the suspects and keep an eye on how easily they surrender. You never know who could ambush or shoot when you’re most vulnerable. Once they’re dealt with, restrain any nearby civilians.
Commanding Suspects
While you can shout for compliance at suspects to get them to drop their weapons and surrender, some may carry a holdout weapon. When you get too close or even ignore them to deal with other sudden threats, they’ll pop up and open fire. A good tactic is to command a kneeling suspect to turn around and then make their way towards you. Not only will you have the benefit of a more secure position, but the chances of them using their holdout weapons are reduced.
Always Restrain Incapacitated Suspects
Even if you’ve incapacitated a suspect, even lethally with blood pooling and whatnot, always restrain them. Not only does it add to your final mission score, but some suspects could be faking their deaths, suddenly popping up later and attacking from behind. It doesn’t happen often, but better to be safe (and alive) than sorry.
Prioritize Non-Lethal Options
With the sheer amount of firearms available, why would anyone ever want to rely on non-lethal options? Because the beanbag shotgun, flashbang and stinger can result in quicker surrenders while gas can prevent suspects from using holdout weapons (though beware of suspects potentially opting to go down, guns blazing, instead of surrendering). All of this means less deaths and a higher score.
JHP vs. AP Rounds
When equipping lethal weapons, it’s always important to remember which ammo is best against which targets. Jacketed Hollow Point (JHP) rounds are suited against targets without armor, providing additional stopping power. On the other hand, Armor Piercing or AP rounds should be used against armored foes. If a mission has hostiles with and without armor, you can carry both types and switch between them.
Praise the Door Wedge
If there’s any tactical device you should take into just about every mission, it’s the Door Wedge. You can use this to seal off doors. Alongside preventing potential flanks from suspects, it remains indefinitely and can be reused when you’ve finished clearing an area. Just make sure to remember where it’s placed and not to hard breach the door, or it’s gone.
Praise the Mirrorgun
Now, if there’s any equipment to take into pretty much any mission, it’s the Mirrorgun. Want some more intel before opening a door? How about checking if there are any traps on the other side? Even something as simple as peeking around corners and spotting enemies without altering them is possible with the Mirrorgun.
Armor and Materials
Armor is a core component of survival, and depending on whether you equip heavy, light, and so on, the number of equipment slots is different. However, it’s equally important to consider the armor material. Ceramic and Kevlar are lighter and thus won’t affect your acceleration as much as Steel Plates. Steel doesn’t break like Ceramic and offers heavy permanent damage reduction. On the other hand, if you’re not taking too many shots, Ceramic can also provide exceptional defense for as long as it lasts. Be careful when using Kevlar, though, since a whole range of ammo types can bypass it.
The (Supposed) Importance of Canting
Canting can be fairly situational, and oftentimes, it may not seem worthwhile if you’re methodically clearing hallways. However, it can be ideal when using long-range weapons and needing to switch to a broader view for close combat. If you’re rocking night vision goggles and an infrared sight, switching to canted sights can feel better without compromising accuracy (depending on the range of engagements).
Highlight Nearby Dropped Weapons
Of course, before doing anything in Ready or Not, go into your settings and select “Highlight Nearby Dropped Weapons.” Anytime a suspect drops their weapon, it will have a yellow outline on the floor, which is visible even in absolute darkness. It thus becomes easier to secure evidence, especially when directing your squadmates towards the same.
Recommended Squad Perks
As your squadmates survive, complete missions and don’t crash out from the stress, they can learn some very powerful perks that apply to the entire team. Nutritionist increases each member’s maximum health; Pacifier increases the chance of non-lethal munitions causing affected suspects to surrender; and Negotiator makes it more likely that suspects surrender immediately when yelling for compliance. Best of all, you can stack these for increased benefits, though it’s best to only equip a single perk on two members at a time – anything beyond that isn’t worth the slots that could be used for other perks.


